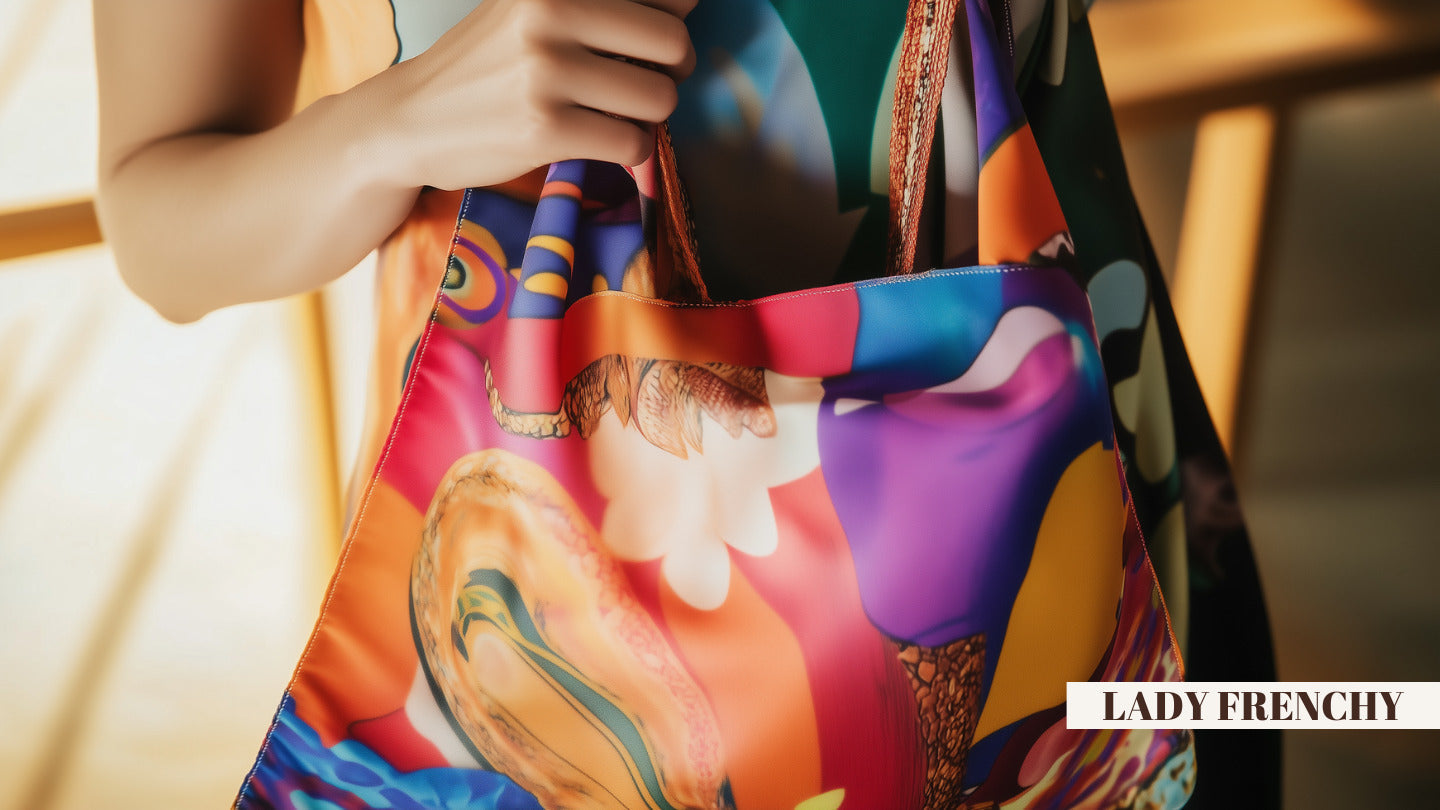
Introduction: Transform Your Scarf into a Trendy Bag!
Are you wondering how to make a bag with a scarf? This simple, creative, and very trendy technique allows you to transform a scarf into a practical and original fashion accessory!
Whether it's for a trip to the beach, a stroll in the city, an impromptu picnic, or simply to add a touch of originality to your outfit, the scarf bag (also called "furoshiki" in Japan) is perfect for expressing your unique style while adopting an eco-responsible approach.
This ancient Japanese technique of furoshiki (風呂敷) - the art of wrapping with fabric - is experiencing a spectacular revival in the fashion world. Not only is it a practical and economical idea, but it's also an ecological way to reuse fabrics you already own instead of buying new bags.
In this comprehensive article, we will guide you through several techniques to create different styles of scarf bags, from the casual tote to the chic handbag, and even the practical backpack. Ready to revolutionize the way you carry your belongings? 👜✨

-30% discount with code BLOG30
Perfect size for creating a bag 👜
📖 Article Summary
- 1. Why Create a Bag with a Scarf?
- 2. Required Materials: The Complete List
- 3. Choosing the Right Scarf for Your Bag
- 4. Technique #1: The Tote Bag (Simple Furoshiki)
- 5. Technique #2: The Chic Handbag
- 6. Technique #3: The Bohemian Duffle Bag
- 7. Technique #4: The Practical Backpack
- 8. How to Wear Your Scarf Bag
- 9. Tips for Customizing Your Creation
- 10. Conclusion: The Art of Furoshiki, French Style
1. Why Create a Bag with a Scarf?
Before moving on to the techniques, discover all the advantages of this raging trend:
♻️ An Eco-Responsible Approach
In a world where sustainable fashion is becoming essential, creating a bag with a scarf fits perfectly into this approach:
- Zero waste: No plastic, no packaging, just a reusable fabric that lasts forever
- Upcycling: Give a second life to your underused scarves
- Alternative to plastic bags: Perfect for your shopping or the beach
- Reduce your carbon footprint: One scarf = several possible bags
💰 Economical and Practical
Why buy several bags when a single large scarf can transform into:
- A beach bag in the morning
- A handbag for shopping in the afternoon
- A clutch for the evening
- A scarf around your neck tomorrow!
🎨 Unique and Personalized
Your bag will be 100% unique! With the multitude of patterns, colors, and textures available (from leopard prints to pastel colors), you create an accessory that truly reflects you.
🌍 An Ancient Art: Furoshiki
This technique is inspired by Japanese furoshiki (風呂敷), a tradition over 1200 years old. In Japan, furoshiki is used to wrap everything: gifts, groceries, clothes, meals... It's an art in itself that is making a strong comeback in Western fashion!
2. Required Materials: The Complete List

To make a bag with a scarf, here's everything you'll need:
✅ Essential Materials
- One or two scarves: Depending on the chosen technique. Opt for a large scarf (90×90 cm minimum) or a square scarf for ease.
- A flat surface: To properly lay out and fold your scarf.
🔧 Optional Materials
- An iron: To smooth the scarf and get neat folds before tying it.
- Wooden or bamboo rings: To create structured "bag handle" style straps. Very trendy!
- Elastic bands or clips: To hold the folds in place while tying.
- Decorative accessories: Ribbons, brooches, pompoms, or pendants to personalize your creation.
💡 Pro Tip
For beginners, start with a thick cotton scarf - it's easier to handle and holds knots better. Once you've mastered the technique, you can move on to more elegant satin scarves.
3. Choosing the Right Scarf for Your Bag
The choice of scarf is crucial for the success of your bag. Here are our recommendations:
📏 Size According to Bag Style
| Bag Style | Recommended Size |
|---|---|
| Tote bag (beach) | 90×90 cm or more |
| Classic handbag | 70×70 cm |
| Duffle bag | 90×90 cm |
| Small clutch | 50×50 cm |
| Backpack | 100×100 cm or 2 scarves |
🧵 The Ideal Fabric
Thick cotton: The best for getting started! Sturdy, easy to knot, holds shapes well. Ideal for a shopping or beach bag.
Linen: Elegant and durable, perfect for a natural bohemian style. Wrinkles beautifully.
Satin: For a chic and luxurious evening bag. A little more slippery, reserved for experienced users.
Silk: The epitome of elegance, but beware - very slippery! Use with tight knots. First learn how to handle silk.
🎨 Patterns According to Occasion
- Beach/Casual: Tropical patterns, navy blues, fancy prints
- Daily: Neutral solids, discreet geometric patterns
- Chic Evening: Elegant black, gold, sophisticated patterns
- Bold Look: Leopard print, vibrant colors

-30% discount with code BLOG30
The perfect base for all your bags 🎀
4. Technique #1: The Tote Bag (Simple Furoshiki)

The tote bag is the easiest to make and the most practical for the beach or shopping. Ideal for beginners!
📋 Detailed Steps
- Lay the scarf flat: Spread your large square scarf (90×90 cm minimum) flat, printed side down.
- Tie two opposite corners: Take two opposite corners (e.g., top-left and bottom-right) and tie them together in the center of the scarf with a tight double knot.
- Tie the other two corners: Repeat with the other two corners. You now have two knots in the center.
- Create the handles: The two knots naturally form the bottom of the bag. The four "ears" protruding from the knots form the handles.
- Connect the handles two by two: Take the two points on the same side and tie them together to form a handle. Repeat on the other side.
- Adjust: Pull on the handles to equalize the length and open the bag. Voilà! 🎉
💡 Express Variation
Even faster: lay the scarf flat, place your belongings in the center, then lift all 4 corners and tie them together in one large knot. Instant duffle bag!
5. Technique #2: The Chic Handbag
For a more sophisticated look, this technique creates an elegant handbag perfect for city outings.
📋 Detailed Steps
- Fold the scarf into a triangle: Lay your square scarf flat and fold it in half diagonally to form a triangle.
- Tie the points of the triangle: Take the two points at the base of the triangle (the two corners that touch) and tie them together with a small knot.
- Turn the scarf inside out: Flip the entire thing. The knots will now be on the inside, forming the bottom of the bag.
-
Create the handle: The remaining tip of the triangle becomes the handle. You can:
- Leave it as is for a short hand-held handle
- Attach it to a wooden ring for a more structured look
- Tie it back on itself to shorten and solidify the handle
- Adjust the shape: Open the bag and arrange the fabric so it drapes nicely.
✨ Style Tip
This style is particularly elegant with a satin scarf with sophisticated patterns. Perfect for brunch or a shopping trip!
6. Technique #3: The Bohemian Pouch Bag

The pouch bag has an irresistible bohemian charm. Its rounded shape and relaxed look make it perfect for festivals, picnics, or countryside outings.
📋 Detailed Steps
- Lay the scarf flat: Use a large square scarf, printed side down.
- Place your belongings in the center: Arrange what you want to carry in the center of the scarf.
- Gather the corners: Bring all 4 corners upwards, gathering them above your belongings.
- Tie two opposite corners: Take two opposite corners and tie them together with a tight square knot.
- Create the handle: Tie the remaining two corners together to form a handle. You can adjust the length depending on whether you want to carry the bag by hand or on your shoulder.
💡 Variation with Rope
For an even more bohemian look, gather all the corners together and tie them with a pretty macramé rope or ribbon. This creates a unique and original handle!
This style pairs perfectly with a bohemian chic look - coordinate with a matching scarf in your hair!
7. Technique #4: The Practical Backpack
Yes, it's possible to create a real backpack with scarves! This technique requires two scarves, but the result is stunning.
📋 Detailed Steps (2-Scarf Method)
-
First scarf (the body of the bag):
- Lay a large square scarf flat
- Fold it in half to form a rectangle
- Tie the two corners of the open side together (this will be the bottom of the bag)
-
Second scarf (the straps):
- Fold the second scarf diagonally to form a long strip
- Pass this strip through the openings of the corners of the first scarf
- Adjust to create two straps of equal length
- Close the top: The two remaining corners of the first scarf can be tied together to close the bag, or left open for easy access.
✨ Who is it for?
Perfect for festivals, light travel, or simply to have your hands free while strolling!
8. How to Wear Your Scarf Bag

Your bag is ready! Here are different ways to wear it depending on the occasion:
👜 By Hand
Simply hold the handles in your hand for a chic and minimalist style. Perfect for an elegant outfit for an evening or special event. This style evokes the "it-bags" of fashion shows!
💼 On the Shoulder
Slip the bag over your shoulder for an elegant and practical look. This option is ideal for everyday use when you need to keep your hands relatively free while staying stylish.
🎒 Crossbody
Wear it across your body for a casual and ultra-practical look. This style allows you to completely free your hands - perfect for the beach, walks, or festivals.
🎀 Tied at the Wrist
For a small bag/clutch, simply tie the handle around your wrist. A very trendy and original look for an evening!
💡 Style Tip
Coordinate your scarf bag with other accessories: a matching scarf around your neck, a headband in your hair with the same print, or a scarf tied to your classic bag!

30% off with code BLOG30
Customize your classic bags too! ✨
9. Tips to Customize Your Creation

Make your scarf bag even more unique with these customization ideas:
🎨 Dye and Color
- Tie-dye: Create unique psychedelic patterns on a white scarf
- Dip-dye (ombré): Dip part of the scarf for a trendy gradient effect
- Natural dye: Use tea, coffee, turmeric, or berries for natural hues
💎 Decorative Accessories
- Vintage brooches: Pin a pretty brooch on the main knot
- Pompoms: Attach colorful pompoms to the corners or handle
- Tassels and fringes: Add leather or fabric tassels
- Wooden beads: Thread beads onto the ends of the knots
- Pendants and charms: Hang charms from the handle
🔧 Practical Improvements
- Wooden/bamboo rings: Pass the corners of the scarf through rings for structured, Hermès-style handles
- Lining: Sew an inner lining for more durability and to prevent belongings from being visible
- Inner pocket: Add a small zippered pocket inside for your keys and phone
✏️ Textile Art
- Embroidery: Embroider your initials or a small design on a visible corner
- Textile paint: Add touches of gold or silver paint
- Iron-on patches: Apply trendy patches
10. Conclusion: The Art of Furoshiki, French Style
Creating a bag from a scarf is an excellent way to combine creativity, style, and eco-responsibility. In just a few minutes and without any sewing, you transform a simple scarf into a practical and trendy accessory.
The advantages are numerous:
- ✅ Zero waste and ecological approach
- ✅ Economical: one scarf = several possible bags
- ✅ 100% customizable and unique
- ✅ Versatile: from the beach to an evening out
- ✅ Easy to store: it reverts to being a simple scarf!
Whether you're a fashion enthusiast or simply looking for a practical and original solution, the scarf bag is a fun, easy, and rewarding project. It's also a great way to creatively reuse your favorite scarves.
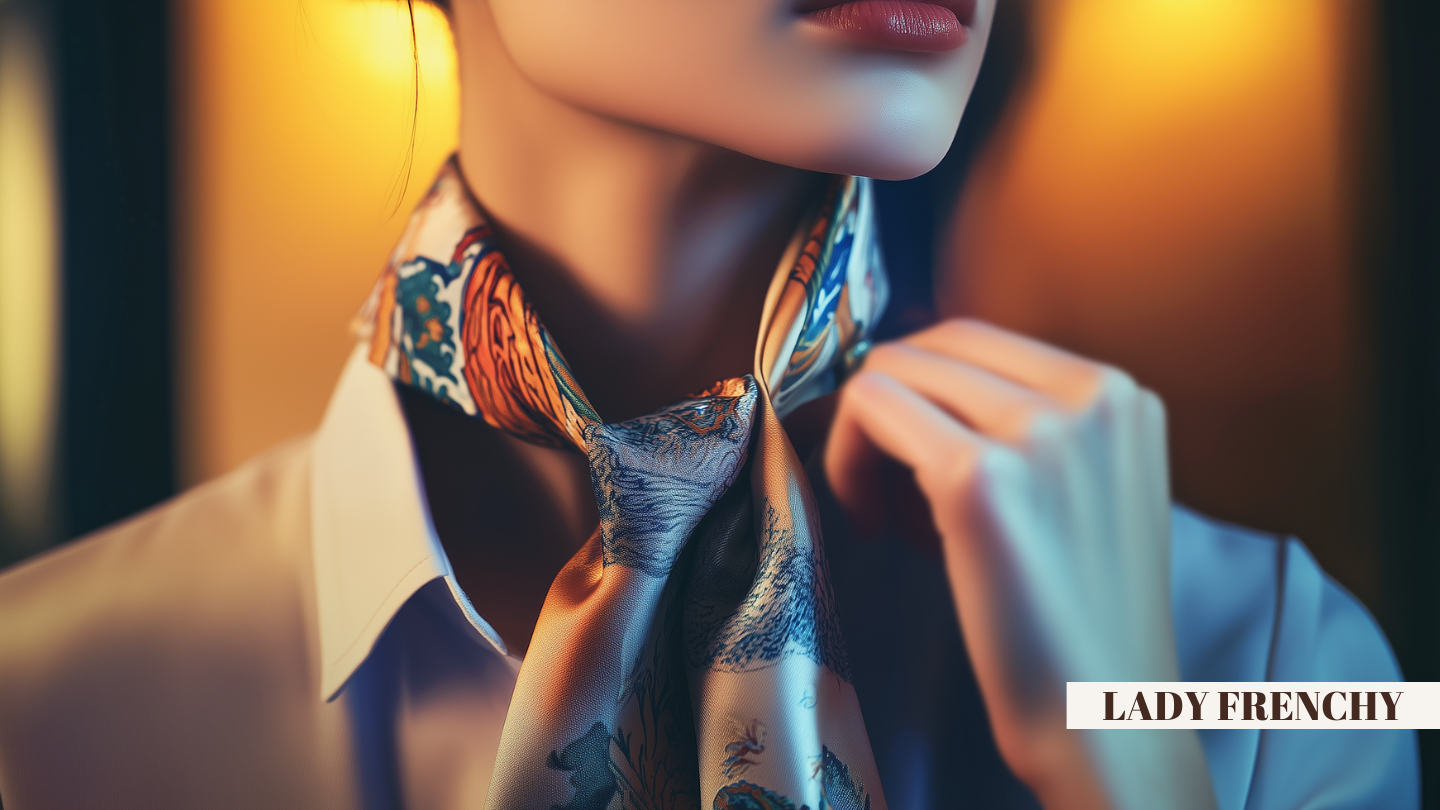
So, go ahead and have fun creating your own collection of bags! And when you're not using them as bags, your scarves can be worn in a thousand other ways: around the neck, in your hair, as a tie, or even as a belt... The possibilities are endless! 👜✨
For another creative DIY, also discover how to make a tie with a scarf thanks to our simple and elegant tutorial to follow!
👜 Ready to Create Your Bag? 👜
Discover our large scarves perfect for transforming into trendy bags!
View Large Scarves →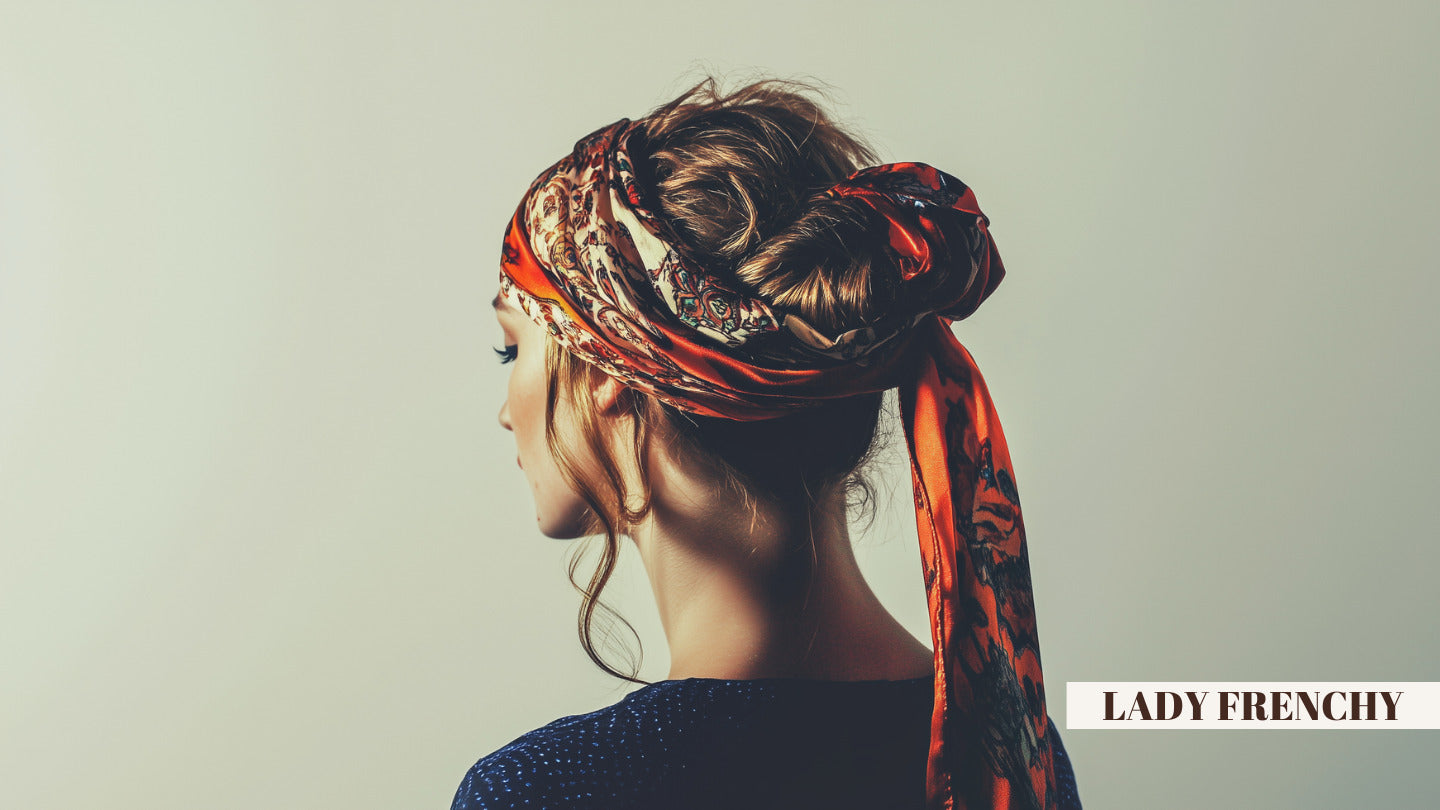