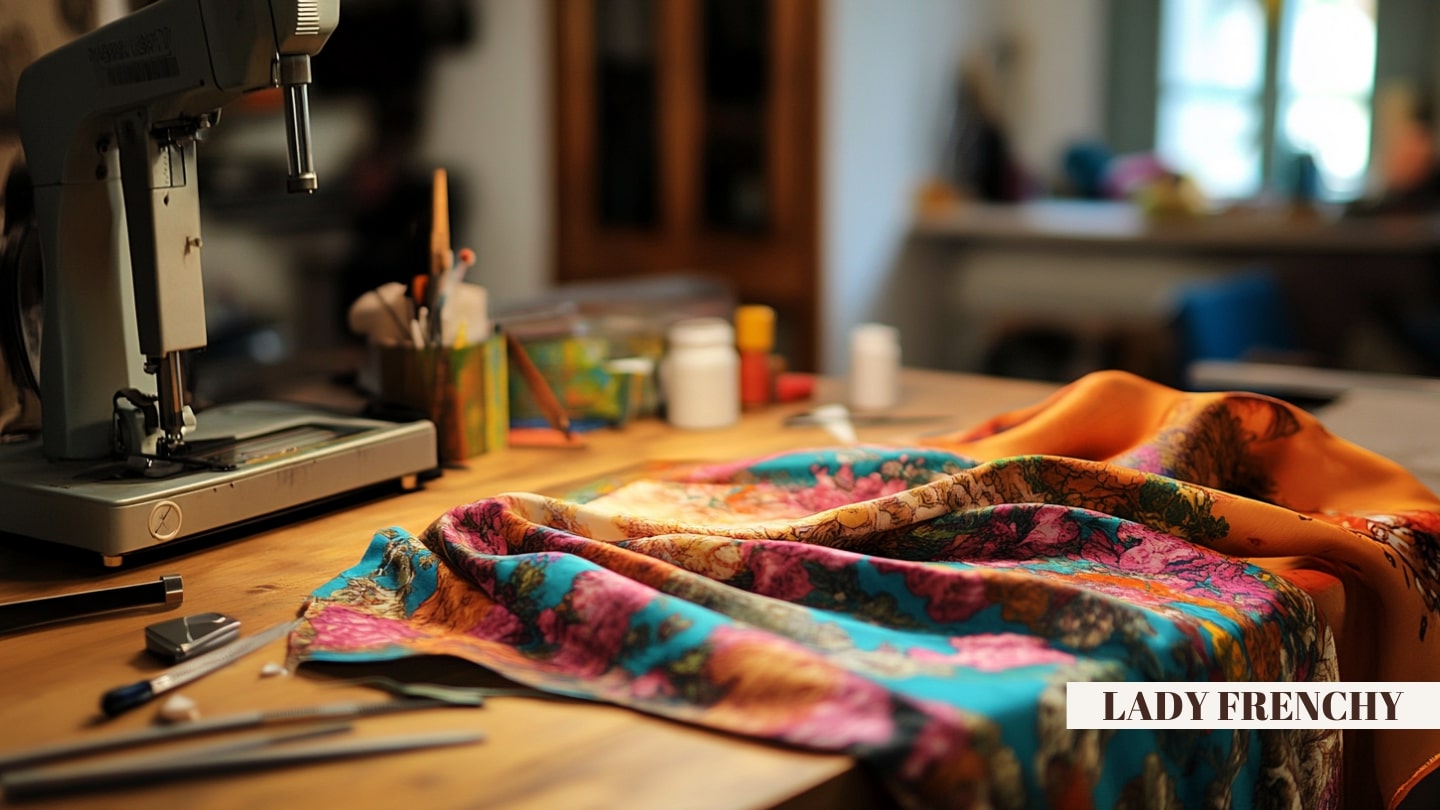
Introduction: How to Make a Skirt from a Scarf
Creating a skirt from a scarf is a creative, economical, and eco-friendly DIY project. Transform your scarves into unique fashion pieces!
Whether you are a sewing beginner or an experienced seamstress, this comprehensive tutorial guides you step-by-step to create different skirt styles.
In this complete DIY guide, discover 4 skirt styles, the necessary materials, detailed steps, and customization tips to create a custom-made skirt.
For other creative ideas with your scarves, check out what to do with a square scarf and how to make a headband with a scarf. ✂️👗
✂️ DIY Tutorial

Satin Scarves
-30% discount with code BLOG30
Perfect for creating your skirt ✂️
€29.99 €20.99
View Collection →
The 4 Skirt Styles with a Scarf
Discover the 4 skirt styles you can create with a scarf:
✂️ The Art of Transforming a Scarf into a Skirt
Creating a skirt from a scarf is about giving a second life to an accessory while creating a unique fashion piece. From no-sew styles for beginners to asymmetrical designs for experts, there's a technique for every skill level. The secret? Choosing the right scarf (size and material) and the right technique for your skills!
🏖️
PAREO SKIRT
No-sew • Beginner
🎀
WRAP SKIRT
Simple sewing • Beginner+
📏
TUBE SKIRT
Elastic • Intermediate
✨
ASYMMETRICAL SKIRT
Creative • Advanced
⭐ BEGINNER
⭐⭐ INTERMEDIATE
⭐⭐⭐ ADVANCED
1. Why Make a Skirt from a Scarf
Creating a skirt from a scarf offers numerous advantages:
💰 Economy and Upcycling
Give new life to your unused scarves without spending on a new garment. A forgotten scarf in a drawer becomes a unique fashion piece!
🎨 Creativity and Customization
Design a unique piece by choosing colors, patterns, and styles that reflect your personality. It's impossible to meet someone with the same skirt!
🌍 Eco-Responsible Fashion
Reusing an existing scarf is part of a sustainable approach by limiting textile waste. Upcycling fashion at its best! See trendy scarf.
⭐ Accessibility
This project is adaptable to all levels: from no-sew for beginners to elaborate designs for experts. Everyone can find something they like!
👗 Versatility
A skirt made from a scarf can be suitable for various occasions: beach, evening, daily wear... Depending on the scarf chosen, the style changes completely.
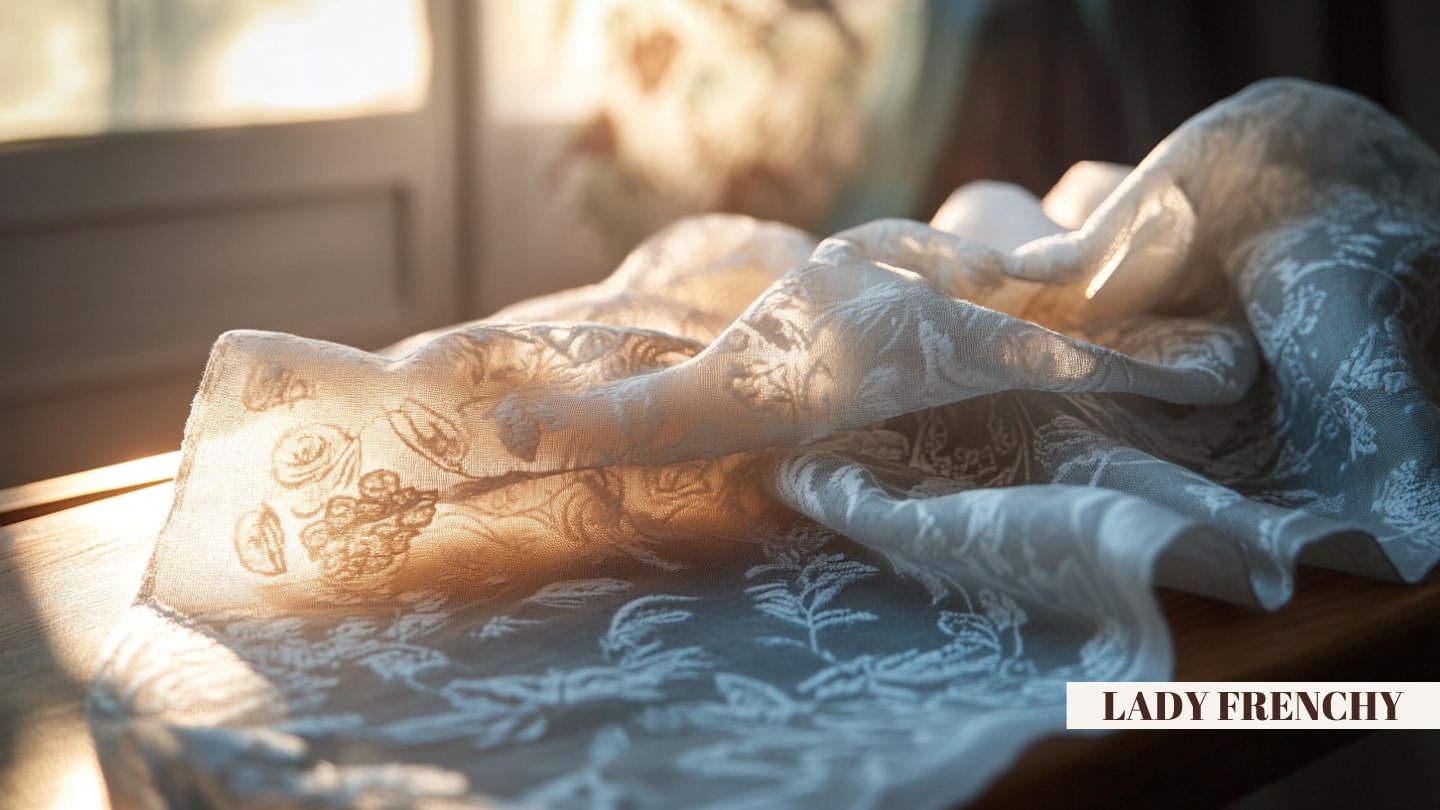
💡 The Right Scarf for a Skirt
For a successful skirt, choose a scarf of at least 90 cm × 90 cm (ideally 110 cm or more). Silk, satin, or viscose scarves provide the best drape. Avoid overly thick fabrics. See square scarf guide.
2. Necessary Materials
Prepare the following materials before you start:
🧣 The Scarf
Minimum size: 90 cm × 90 cm (1 scarf)
Ideal size: 110 cm × 110 cm or more
Recommended materials: Silk, satin, viscose, light cotton
For 2 scarves: More elaborate styles possible
🪡 For Sewing
Needles: Fine for delicate fabrics
Thread: Matching scarf color
Pins: Fine to hold fabric
Sewing machine: Optional (hand sewing possible)
✂️ For Cutting
Scissors: Sharp for clean cuts
Pinking shears: Optional (prevent fraying)
Tailor's chalk: For marking
📏 For Measurements
Tape measure: Essential for waist circumference and length
Ruler: For straight lines
Elastic: 2-3 cm wide for waistband
🔧 Useful Accessories
Iron: For preparation and finishing
Safety pin: For threading elastic
Seam ripper: In case of error
| Style |
Min. Scarf Size |
Difficulty |
Estimated Time |
| Pareo |
90 × 90 cm |
⭐ Beginner |
5 min |
| Wrap |
100 × 100 cm |
⭐ Beginner+ |
30 min |
| Tube |
110 × 110 cm |
⭐⭐ Intermediate |
1h |
| Asymmetrical |
2 × 90 cm |
⭐⭐⭐ Advanced |
2h+ |
3. Style 1: Pareo Skirt (No-Sew)
The simplest and quickest style, perfect for the beach or vacation:
🏖️ Features
Level: Absolute beginner
Sewing: None!
Time: 5 minutes
Scarf: 90 cm minimum
Style: Bohemian, beach, casual
Step 1: Prepare the Scarf Take a
large square scarf (90 cm or more). If necessary, iron it lightly to remove wrinkles. See
ironing a silk scarf.
Step 2: Position at the Waist Hold two adjacent corners of the scarf and
place them on your hip. The scarf should cover the front of your legs diagonally.
Step 3: Tie at the Waist
Tie the two corners on your opposite hip (side or front, as preferred). Adjust the height and tightness.
Variation: Long Sarong For a
longer skirt, fold the scarf into a triangle before tying it. The drape will be different and the coverage greater.
💡 Safety Tip To prevent the sarong from opening, add a hidden
small safety pin inside the knot. Invisible but effective! See
dressing for summer vacation.
4. Model 2: Wrap Skirt
An elegant model with minimal sewing:
🎀 Features
Level: Beginner+
Sewing: Simple (hem + ties)
Time: 30 minutes
Scarf: 100 cm or more
Style: Elegant, office, evening
Step 1: Measurements Measure your
waist circumference and the
desired length (knee, mid-calf...). The scarf should be at least 1.5 times your waist circumference for the overlap.
Step 2: Prepare the Ties Cut
two strips of fabric (or use matching ribbons) 50 cm long. These will be the ties for your skirt.
Step 3: Attach the Ties Sew one tie to each
upper corner of the scarf. These ties will allow you to tie the skirt at the waist.
Step 4: Waistband Hem Create a
small hem (1-2 cm) on the upper edge of the scarf to reinforce the waistband and prevent fraying.
Step 5: Wear Wrap the scarf around your waist,
cross the panels in front or on the side, and tie the fasteners.
💡 Elegance Tip For a more sophisticated look, use
satin ribbons matching the scarf as ties. You can also add a
decorative buckle on the side.
👜 Complete Collection

Women's Scarves
-30% off with code BLOG30
Large sizes for your creations 👜
€29.99 €20.99
View Collection →
5. Model 3: Elasticated Tube Skirt
The classic and comfortable model with an elastic waistband:
📏 Features
Level: Intermediate
Sewing: Side seam + casing
Time: 1 hour
Scarf: 110 cm or more
Style: Comfortable, daily, versatile
Step 1: Measurements and Cutting Measure your
waist circumference + 5 cm (for ease) and the
desired length + 5 cm (for hems). Mark these reference points on the scarf.
Step 2: Form the Tube Fold the scarf
right sides together (the pretty sides facing each other). Align the side edges.
Step 3: Side Seam Sew the
side of the tube 1 cm from the edge, leaving a 3 cm opening at the top for the elastic. Use a straight or zigzag stitch.
Step 4: Create the Casing Fold the top edge
twice by 2-3 cm to create a casing. Sew, leaving an opening to insert the elastic.
Step 5: Insert the Elastic Attach a
safety pin to the elastic and thread it through the casing. The elastic should be your waist circumference - 2 cm.
Step 6: Finishing Sew the
ends of the elastic together, then close the casing opening. Hem the bottom if necessary.
⚠️ Points of Attention
Slippery fabric: Silk and satin slide under the machine. Use fine pins and sew slowly.
Elastic: Choose a soft elastic that will not roll on itself.
6. Model 4: Asymmetrical Skirt
The most creative and daring model:
✨ Features
Level: Advanced
Sewing: Multiple + assembly
Time: 2 hours or more
Scarf: 2 scarves of 90 cm or 1 XL
Style: Creative, evening, unique
Step 1: Plan the Design Draw your
desired model: irregular bottom, layering, asymmetrical drape... Define where the seams and heights will be.
Step 2: Cut the Pieces If you are using 2 scarves, cut them according to your design. For a
patchwork effect, combine different but harmonious patterns.
Step 3: Assemble the Pieces Pin the pieces
right sides together then sew them. Regularly check the result by looking in a mirror.
Step 4: Waistband Choose your waistband type:
elastic (comfort),
tie-ribbon (adjustable), or
zipper (for experts).
Step 5: Creative Finishing Give free rein to your
creativity: visible fringes, deliberately irregular hems, transparent overlays...
💡 Inspiration For this creative model, draw inspiration from
current trends: bohemian style with fringes, vintage look with overlays, or contemporary with graphic cutouts. See
trendy scarf.
7. Customization and Finishing
Give your skirt a unique touch:
🌸 Embroidery and Appliques Add hand-
embroidered motifs: flowers, initials, geometric patterns... You can also sew contrasting fabric appliques.
🎨 Patchwork Effect Combine
several scarves with harmonious patterns and colors for an original patchwork effect. Play with contrasts or color gradients.
✨ Embellishments Integrate decorative elements:
beads, glitter, sequins, ribbons... Perfect for an evening or festive skirt!
🌾 Fringes If your scarf has fringes,
highlight them by leaving them visible on the hem. Guaranteed bohemian touch!
🎀 Statement Belt Transform the belt into a decorative element:
large knot on the side, contrasting belt, vintage buckle... See
how to be elegant.
💡 Care for your Creation
Washing: Hand wash, cold water, mild soap
Drying: Flat on a towel
Ironing: Low temperature with protection
Storage: Hung or delicately folded
See
washing a silk scarf.
🌸 Perfect Accessory

Square Scarves
-30% off with code BLOG30
Ideal size for skirts 🌸
€29.99 €20.99
View Collection →
Conclusion
Creating a skirt with a scarf is a rewarding DIY project. Remember the 4 models:
- 🏖️ Sarong Skirt: No-sew, 5 min, ideal for beginners
- 🎀 Wrap Skirt: Simple sewing, 30 min, elegant
- 📏 Tube Skirt: Elasticated, 1h, comfortable for daily wear
- ✨ Asymmetrical Skirt: Creative, 2h+, unique piece
Embark on creating a unique skirt that reflects your style! ✂️👗
Explore our satin scarf collection and discover all our large sizes in the complete collection! ✂️👗
For other DIY projects, discover how to make a headband with a scarf and what to do with a square scarf.
📚 DIY & Creativity Guides
✂️ Start Creating! 👗
Discover our large scarves perfect for your DIY projects
View Collection →
✍️ Rédigé par
Diane Valmont
Passionnée de mode et d'accessoires depuis plus de 10 ans, Diane explore les tendances et partage ses conseils style sur le Blog Foulard. Du foulard en soie au carré satin, elle vous guide pour sublimer chaque tenue avec élégance.


