Introduction: How to Knit a Scarf
Learning how to knit a scarf is an excellent way to start knitting, especially if you are a beginner.
This simple and accessible project allows you to get familiar with the basics of knitting while creating a personalized and warm accessory.
Whether you're looking for a winter project or a fashion accessory for transitional seasons, a hand-knitted scarf is an excellent option for creating something unique.
In this comprehensive guide, discover the necessary materials, basic stitches, and a step-by-step tutorial to knit your first scarf.
Also check out our complementary guides on how to give a scarf as a gift and how to store scarves. 🧶✨

-30% discount with code BLOG30
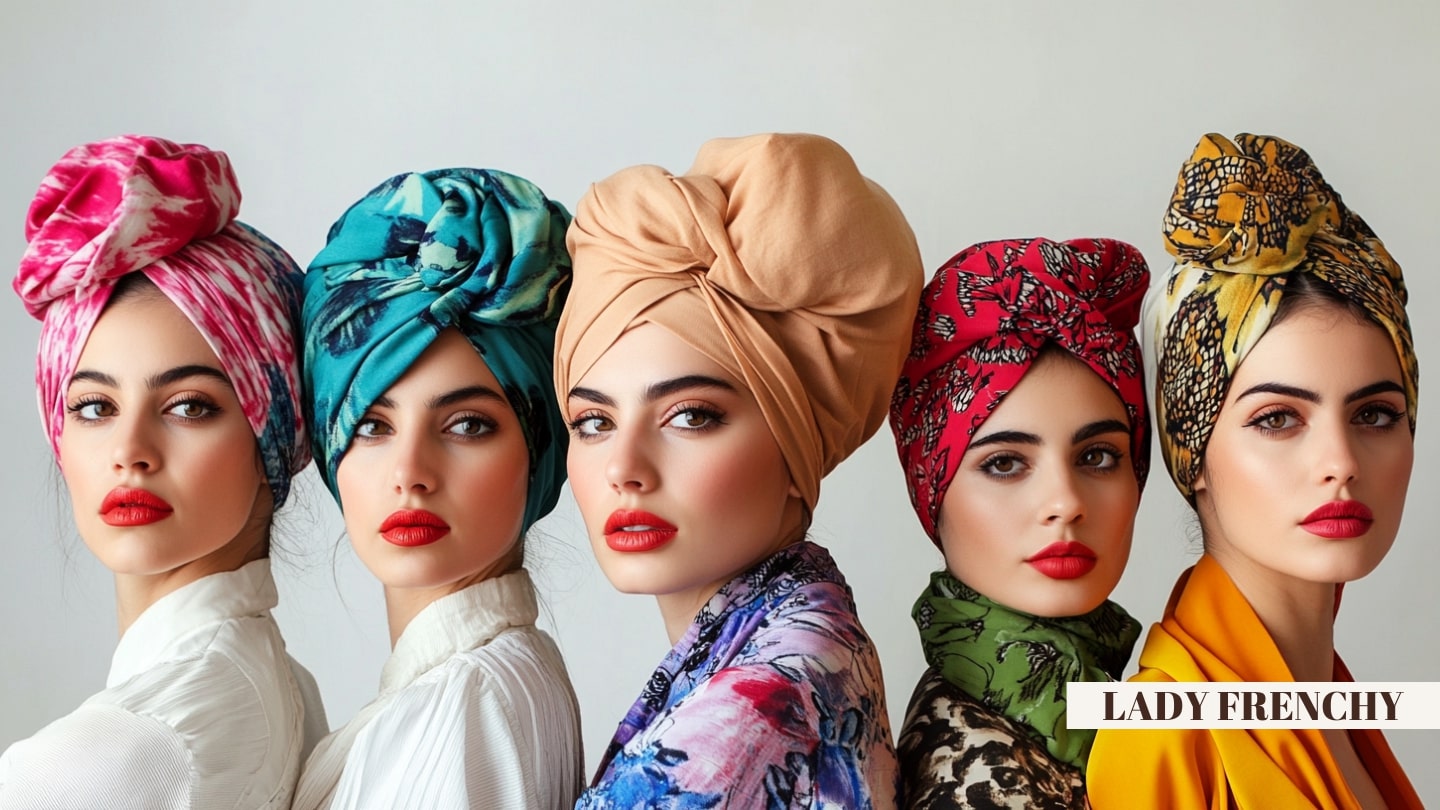
Inspiration for your creation 🧶
📖 Article Summary
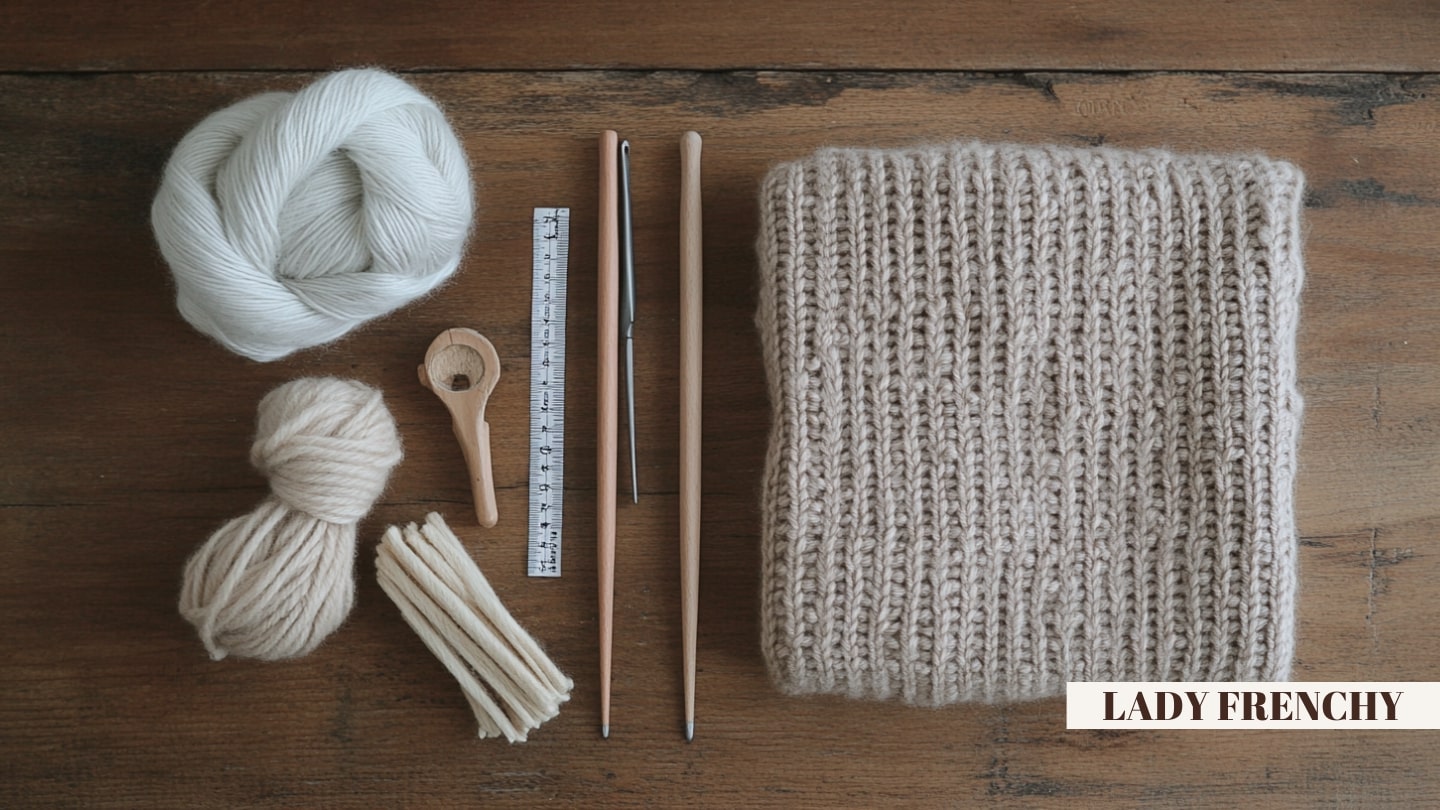
1. Necessary Materials

Before you start to knit a scarf, make sure you have all the materials:
🧶 Your Starter Kit
Knitting is a creative hobby accessible to everyone! With a few basic tools and quality yarn, you can create unique and personalized accessories. Start simple and progress at your own pace.
Needles
5 mm recommended
Yarn
200-300g
Markers
Optional
Scissors
For cutting
Tapestry Needle
Finishing
Tape Measure
Measuring
🪡 Knitting Needles
Choose needles based on the yarn's thickness. 5 mm needles are often ideal for a standard scarf. For beginners, prefer wooden or bamboo needles (less slippery).
🧶 Yarn
The main element! Choose it based on the desired thickness. Count approximately 200 to 300g for a scarf. Wool/acrylic blends are soft and easy to care for.
📍 Stitch Markers
Although optional, they help you keep track of rows and are useful if you add patterns or stitch changes.
🪡 Tapestry Needle
Handy for weaving in ends at the end of the project for a neat finish.
💡 Beginner Tip
For beginners, opt for wooden or bamboo needles. They are lighter and offer better grip. Metal needles can be slippery for a first project.
2. Choosing the Right Yarn

The choice of yarn is crucial for a successful scarf:
Chunky Yarn
Warm and cozy
Cotton
Light mid-season
Alpaca
Luxurious and soft
Merino
Soft on skin
Acrylic
Easy care
❄️ Chunky Yarn
Perfect for a winter scarf, it provides warmth and comfort. Allows for faster knitting, ideal for impatient beginners!
🌿 Cotton Yarn
Lighter, ideal for mid-season scarves. Hypoallergenic, a good choice for sensitive skin.
✨ Alpaca Yarn
Soft and light, perfect for a luxurious accessory. Very warm despite its lightness, an excellent option for winter.
🐑 Merino Yarn
Extremely soft and non-scratchy. Ideal for scarves worn close to the face and neck.
💡 Swatch Tip
Knit a swatch before starting to check if the yarn matches the desired result. This also helps to check if the yarn is itchy or scratchy.
3. Basic Knitting Stitches

The basic stitches to master for your scarf:
Garter Stitch
Beginner - Reversible
Stockinette Stitch
Intermediate - Smooth
Seed Stitch
Textured - Elegant
Ribbing
Elastic - Warm
🔲 Garter Stitch (Recommended for Beginners)
Technique: Knit stitches only, all rows
Advantages: Simple, reversible, thick and even texture
Ideal for: First scarf, warm and comfortable result
📏 Stockinette Stitch
Technique: Alternating knit and purl rows
Advantages: Smooth on one side, textured on the other
Caution: Edges can curl, plan for borders
🌾 Seed Stitch
Technique: Alternating knit/purl stitches on each row
Advantages: Interesting texture, does not curl
Ideal for: Adding sophistication
🔳 Ribbing (1/1 or 2/2)
Technique: Regular alternation of knit/purl stitches
Advantages: Elastic, conforms to the neck
Ideal for: Cowl scarves, neck warmers

-30% discount with code BLOG30
The perfect accessory 👜
4. Casting On Stitches

The first step is to cast on stitches onto your needle:
Step 1: Slip Knot
Make a slip knot and place it on a needle. This will be your first stitch.
Step 2: Create Stitches
Insert the needle into the stitch, wrap the yarn around the needle and pull it through to form a new stitch.
Step 3: Repeat
Repeat until you have the desired number of stitches, depending on the width of your scarf.
📐 How Many Stitches?
For a standard scarf (about 20 cm wide) with 5 mm needles:
• Bulky yarn: 25-30 stitches
• Medium yarn: 35-40 stitches
• Fine yarn: 45-50 stitches
💡 Tension Tip
Casting on stitches can seem difficult at first. Take your time to get used to the yarn tension to achieve an even result. Neither too tight, nor too loose.
5. Knitting the Scarf Body

After casting on stitches, knit the body of your scarf:
🧶 Garter Stitch Tutorial
Garter stitch is perfect for beginners: simply knit every row. Continue until you reach the desired length (about 150-180 cm for a standard scarf).
Row by Row
Knit each row with knit stitches (garter stitch). Maintain an even tension for a uniform result.
Check Length
Regularly measure your work. A standard scarf measures between 150 and 180 cm. Adjust according to your preferences.
When you reach the end of a skein, attach the new yarn at the beginning of a row (not in the middle) to facilitate finishing.
6. Finishing: Binding Off and Blocking

7. Personalizing Your Scarf


-30% off with code BLOG30
Color and pattern inspiration 🌸
8. Projects by Skill Level
Adapt your project to your skill level:
Stitches: 20-25 stitches
Stitch: Garter stitch only
Time: 1-2 weeks (a few hours a day)
Stitches: 30-35 stitches
Stitches: Garter stitch + color changes
Time: 2-3 weeks
Stitches: 40+ stitches
Stitches: Cables, stockinette stitch, ribbed edges
Time: 3-4 weeks
9. Mistakes to Avoid
Common beginner mistakes:
10. Conclusion
To knit your first scarf, remember:
- 🪡 Materials: 5-6 mm needles, quality yarn
- 🧶 Yarn: Bulky (beginner), merino (comfort), alpaca (luxury)
- 🔲 Stitch: Garter stitch to start
- 📐 Stitches: 25-35 depending on desired width
- 📏 Length: 150-180 cm standard
- ✂️ Finishing: Bind off, weave in ends, block
- 🎀 Personalization: Fringe, stripes, pom-poms
Explore our satin scarf collection for inspiration, and discover all our models in the complete collection! 🧶✨
For other guides, discover gifting a scarf, storing scarves, and scarf around the neck.
