Introduction: Headband Scarf for Hair - Sewing Tutorial
Making your own headband scarf for hair is a rewarding sewing project that allows you to create a unique accessory, perfectly suited to your style and head size.
This complete sewing tutorial guides you step-by-step through sewing an elastic headband with fabric, from cutting to professional finishing.
In this sewing pattern guide, discover 4 different headband models, recommended fabrics, sewing techniques, and personalization ideas to create unique hair accessories.
To use an existing scarf as a headband (without sewing), see how to make a headband with a scarf. For other sewing projects, see triangle scarf sewing tutorial. ✂️✨
✂️ Sewing Tutorial

Women's Scarves
-30% discount with code BLOG30
Inspiration for your creations ✂️
€29.99 €20.99
View Collection →
The 4 Headband Models to Sew
Discover the 4 types of headbands you can create:
🎗️ Sewing vs. Tying: The Difference
This tutorial teaches you how to SEW a permanent headband with integrated elastic - a true durable hair accessory. This is different from simply tying a scarf as a headband (see headband with a scarf). A sewn headband holds better, adjusts automatically, and can be worn in seconds!
🎗️
CLASSIC
Simple, elegant, beginner
🎀
TWIST KNOT
Knot in front, trendy
👳♀️
WIDE TURBAN
Wide, covering, bohemian
🌀
BRAIDED
3 interwoven bands
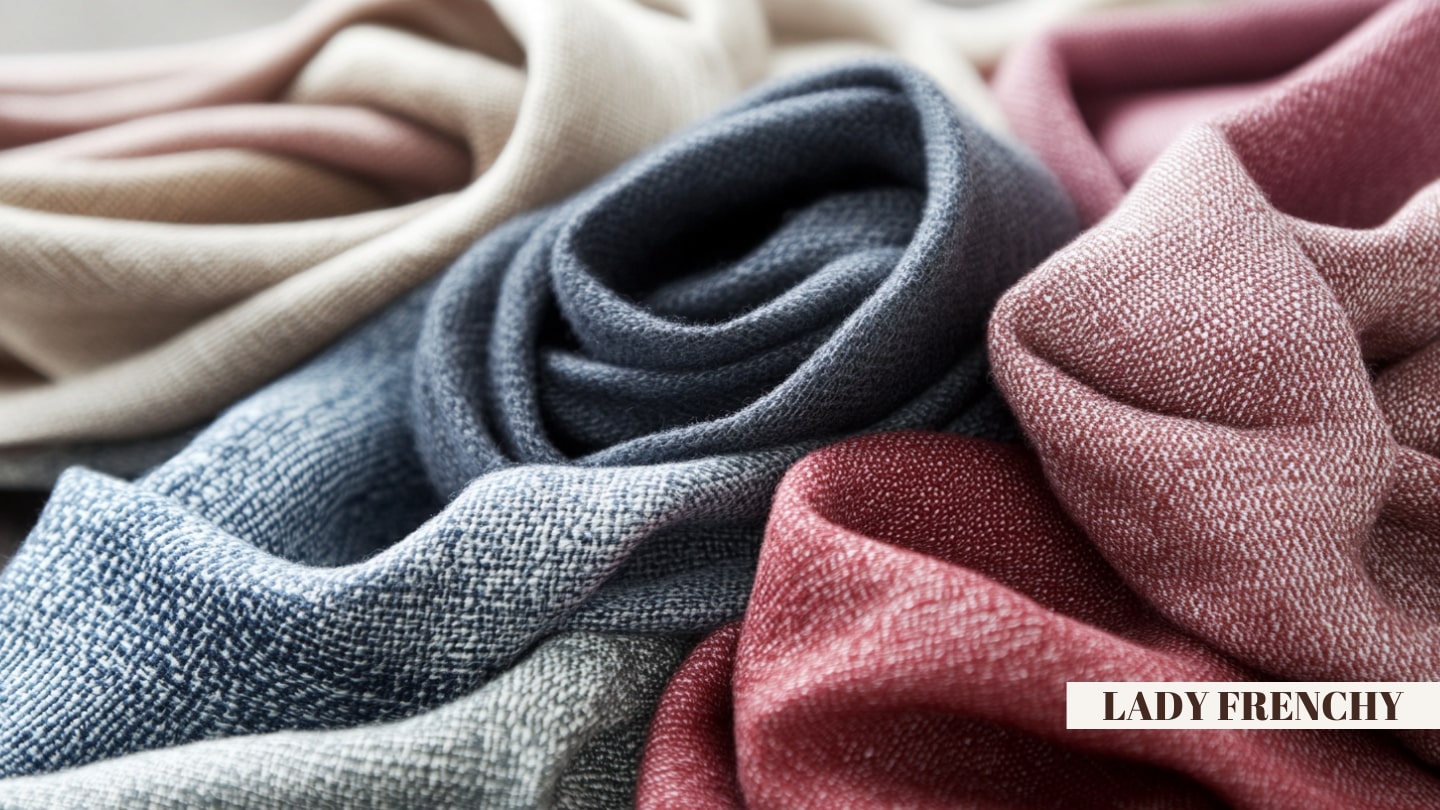
🌿 COTTON
✨ SATIN
🦋 SILK
🌾 LINEN
1. Advantages of the Sewn Headband
Why sew instead of tie:
⏱️ Quick to Use
A sewn headband is put on in 2 seconds. No need to tie it every time. Ideal for a busy daily routine!
🔒 Perfect Hold
The integrated elastic keeps the headband in place all day, even during sports. No more constant readjustments.
📐 Automatic Adjustment The elastic adapts to
all head sizes. One headband fits the whole family.
🎨 Total Personalization Choose the exact
fabric, width, style. Create unique headbands impossible to find in stores.
💰 Economical A fabric scrap + an elastic band = a headband.
Cost: less than €3 for an accessory that would be worth €15-25.
🎁 Unique Gifts Create matching sets to give as gifts. A
handmade and personalized gift is always appreciated.
2. Fabric Choice
The fabric determines the look and comfort:
🌿 Cotton (Ideal for Beginners)
Advantages: Easy to sew, breathable, washable
Look: Casual, everyday, colorful
Use: Sport, beach, daily
Thickness: Medium, not too thin
✨ Satin/Silk
Advantages: Shiny, soft for hair, anti-frizz
Look: Elegant, chic, evening
Use: Occasions, hair protection at night
Note: More slippery to sew
🌾 Linen
Advantages: Natural, breathable, textured
Look: Bohemian, natural, summery
Use: Summer, natural look
Note: Wrinkles (natural charm)
🧶 Jersey
Advantages: Stretchy, very comfortable
Look: Sporty, casual
Use: Sport, yoga, daily
Note: May not require elastic
💡 Fabric Tip For a first headband, use
printed cotton. It forgives small mistakes, and patterns hide imperfections. Avoid silk for beginners (too slippery).
3. Required Materials
Gather these materials:
🧵 Fabric
Quantity: 50 x 20 cm minimum (classic headband)
Wide: 60 x 25 cm (turban headband)
Multiple: 3 strips of 50 x 8 cm (braided headband)
➰ Elastic
Type: Flat elastic 2-3 cm wide
Length: 10-15 cm depending on head size
Alternative: Round elastic for some models
🪡 Sewing
Machine: Straight stitch, possibly zigzag
OR by hand: Needle + matching thread
Pins: To hold in place
Safety pin: To thread the elastic
✂️ Cutting
Scissors: Well-sharpened
Measuring tape: For measuring
Chalk/Fabric pen: For marking
♨️ Finishing
Iron: Essential
Rod: For turning tubes inside out
Seam ripper: For corrections
👜 Complete Collection

Women's Scarves
-30% off with code BLOG30
Inspirational Fabrics 👜
€29.99 €20.99
View Collection →
4. Classic Elastic Headband Pattern
The classic model with hidden elastic:
🎗️ Features
Difficulty: ⭐ Easy (beginner)
Time: 20-30 minutes
Fabric: 50 x 20 cm
Elastic: 10-12 cm
Step 1: Cut Out Cut a rectangle measuring
50 x 20 cm. The final width will be approximately 8-9 cm. Adjust as desired.
Step 2: Fold and Sew the Tube Fold the fabric in half
lengthwise, right sides together. Sew the long edge 1 cm from the edge. You will get a tube.
Step 3: Turn Right Side Out Use a stick or pencil to
turn the tube right side out. Iron flat, with the seam in the middle or on one side.
Step 4: Prepare the Elastic Cut a fabric rectangle measuring
15 x 10 cm. Create a small tube (as in steps 2-3) to cover the elastic.
Step 5: Insert the Elastic Attach a safety pin to the elastic and
thread it through the small tube. The elastic should extend from each side.
Step 6: Assemble Insert the ends of the main tube into the elastic tube.
Sew securely, overlapping the layers. Finish neatly.
💡 Simple Alternative Super quick version: directly sew the elastic to the ends of the main tube, then fold the fabric to hide the elastic. Less neat but faster.
5. Knot Headband (Twist)
The headband with a twisted knot at the front:
🎀 Features
Difficulty: ⭐⭐ Medium
Time: 30-40 minutes
Fabric: 2 rectangles of 50 x 12 cm
Elastic: 10 cm
Step 1: Create 2 Tubes Make
2 identical tubes as for the classic headband (fold, sew, turn).
Step 2: Create the Twist Place the two tubes perpendicularly and
intertwine them to create a knot/twist in the center.
Step 3: Secure the Twist Hand-sew a few stitches to
hold the twist in place.
Step 4: Assemble Overlap the 4 ends (2 from each tube) and
sew them to the elastic as for the classic headband.
6. Wide Turban Headband
The wide turban style headband:
👳♀️ Features
Difficulty: ⭐ Easy
Time: 25-35 minutes
Fabric: 60 x 25 cm
Elastic: 12-15 cm
Method The same technique as the classic headband, but with
wider fabric (25 cm instead of 20). The result is a covering turban-style headband, ideal for holding hair in place or for a bohemian look.
💡 Volume Tip For more volume at the front, lightly gather the fabric before attaching it to the elastic. This creates a natural "turban" effect.
For other turban styles, see turban with scarf tutorial.
7. Braided Headband
The 3-strand braided headband:
🌀 Features
Difficulty: ⭐⭐ Medium
Time: 40-50 minutes
Fabric: 3 strips of 50 x 8 cm
Elastic: 10 cm
Step 1: Create 3 Tubes Make
3 identical thin tubes. You can use 3 different fabrics for a multicolored effect!
Step 2: Assemble the Starts Overlap the 3 tubes at one end and
sew them together.
Step 3: Braid Braid the 3 tubes together like a
classic braid. Don't pull too tight.
Step 4: Secure and Assemble Sew the ends together, then
assemble to the elastic as before.
8. Customization
Make your headbands unique:
🌸 Embroidery Embroider
initials, floral or geometric patterns on the fabric BEFORE sewing the headband. Use contrasting thread.
💎 Beads and Rhinestones Sew or glue
beads, sequins or rhinestones for a glamorous effect. Ideal for special occasions.
🎀 Appliqué Bow Sew a
small bow in matching or contrasting fabric on the front of the headband. Guaranteed cute effect.
🔲 Patchwork Assemble
several fabrics before cutting for a unique patchwork headband.
🌈 Reversible Use
two different fabrics to create a reversible headband. Two looks in one!
🧵 Lace Overlay a strip of
lace on the fabric for a romantic and delicate effect.
9. Wearing and Care
Wearing Styles
🌊 Bohemian Wear the headband
around the forehead, with hair down and wavy. The elastic is hidden at the back.
💫 Bun Wear the headband with a
messy bun. The headband holds the hair and adds style. See
bun with scarf.
🏃♀️ Sport Wear the headband to
hold hair back during sports. Jersey is ideal for absorbing sweat.
🌙 Night A satin headband protects hair during sleep.
Anti-frizz and anti-breakage.
Care
🧼 Washing Hand wash or machine wash on a
delicate cycle. Use a laundry bag for protection.
🌬️ Drying
Air dry. Avoid tumble drying, which can damage the elastic.
♨️ Ironing Iron at a
low temperature, avoiding the elastic which could melt.
🌸 Perfect Accessory

Inspiring Scarves
-30% off with code BLOG30
For your creations 🌸
€29.99 €20.99
View Collection →
Conclusion
This scarf headband sewing tutorial allows you to create unique hair accessories. Recap:
- 🎗️ Classic: Simple tube + elastic, beginner-friendly
- 🎀 Knot: 2 intertwined tubes, trendy
- 👳♀️ Turban: Wide and covering, bohemian
- 🌀 Braided: 3 strands, original
Get started and create your personalized headbands! ✂️✨
Explore our scarf collection for sewing inspiration! ✂️✨
To use a scarf without sewing, see scarf headband. Other projects: triangle scarf sewing tutorial and make a silk scarf.
✂️ Create Your Headbands! 🎗️
Discover our scarves for sewing inspiration
View Collection →
✍️ Rédigé par
Diane Valmont
Passionnée de mode et d'accessoires depuis plus de 10 ans, Diane explore les tendances et partage ses conseils style sur le Blog Foulard. Du foulard en soie au carré satin, elle vous guide pour sublimer chaque tenue avec élégance.